Wood surfaces add warmth, beauty, and character to any home. From outdoor patios and decks to interior built-ins, doors, and wood walls, properly stained wood can completely transform a space. At Schafer Painting, we specialize in professional wood staining services that enhance natural beauty while protecting your investment for years to come.
Benefits of Professional Wood Staining
Many homeowners underestimate the importance of high-quality staining and finishing. A professional stain application does more than improve appearance — it helps preserve and protect wood from everyday wear, moisture, UV exposure, and aging.
Protects Wood Surfaces
Exterior wood surfaces like decks, fences, pergolas, and patios are constantly exposed to the elements. Without proper staining and sealing, wood can crack, fade, warp, or rot over time. A professional stain and protective finish help extend the life of your wood surfaces.
Enhances Natural Wood Grain
One of the biggest advantages of staining over painting is that stain allows the natural wood grain and texture to shine through. Whether you prefer rich dark tones, warm natural finishes, or modern grey stains, the right stain color can dramatically elevate the look of your space.
Improves Interior Spaces
Interior wood staining has become increasingly popular for built-ins, accent walls, trim, beams, and doors. Clear coats and custom stain finishes create a timeless, elegant appearance while adding warmth and depth throughout the home.
Choosing the Right Wood Stain Color
Selecting the perfect stain color can feel overwhelming, but working with experienced professionals helps ensure beautiful, cohesive results. Factors like lighting, wood species, surrounding décor, and desired finish all play a role in choosing the right stain.
Popular wood stain options include:
Warm natural wood finishes
Dark walnut stains
Modern grey wood stains
Clear coat finishes
Rustic farmhouse tones
Rich espresso finishes
At Schafer Painting, we help homeowners find the perfect stain match to complement their home’s style and existing woodwork.
Exterior Staining Services
Professional exterior staining services help homeowners maintain and upgrade outdoor living spaces. Our staining services include:
Deck staining
Patio staining
Fence staining
Pergola staining
Cedar siding staining
Garage door staining
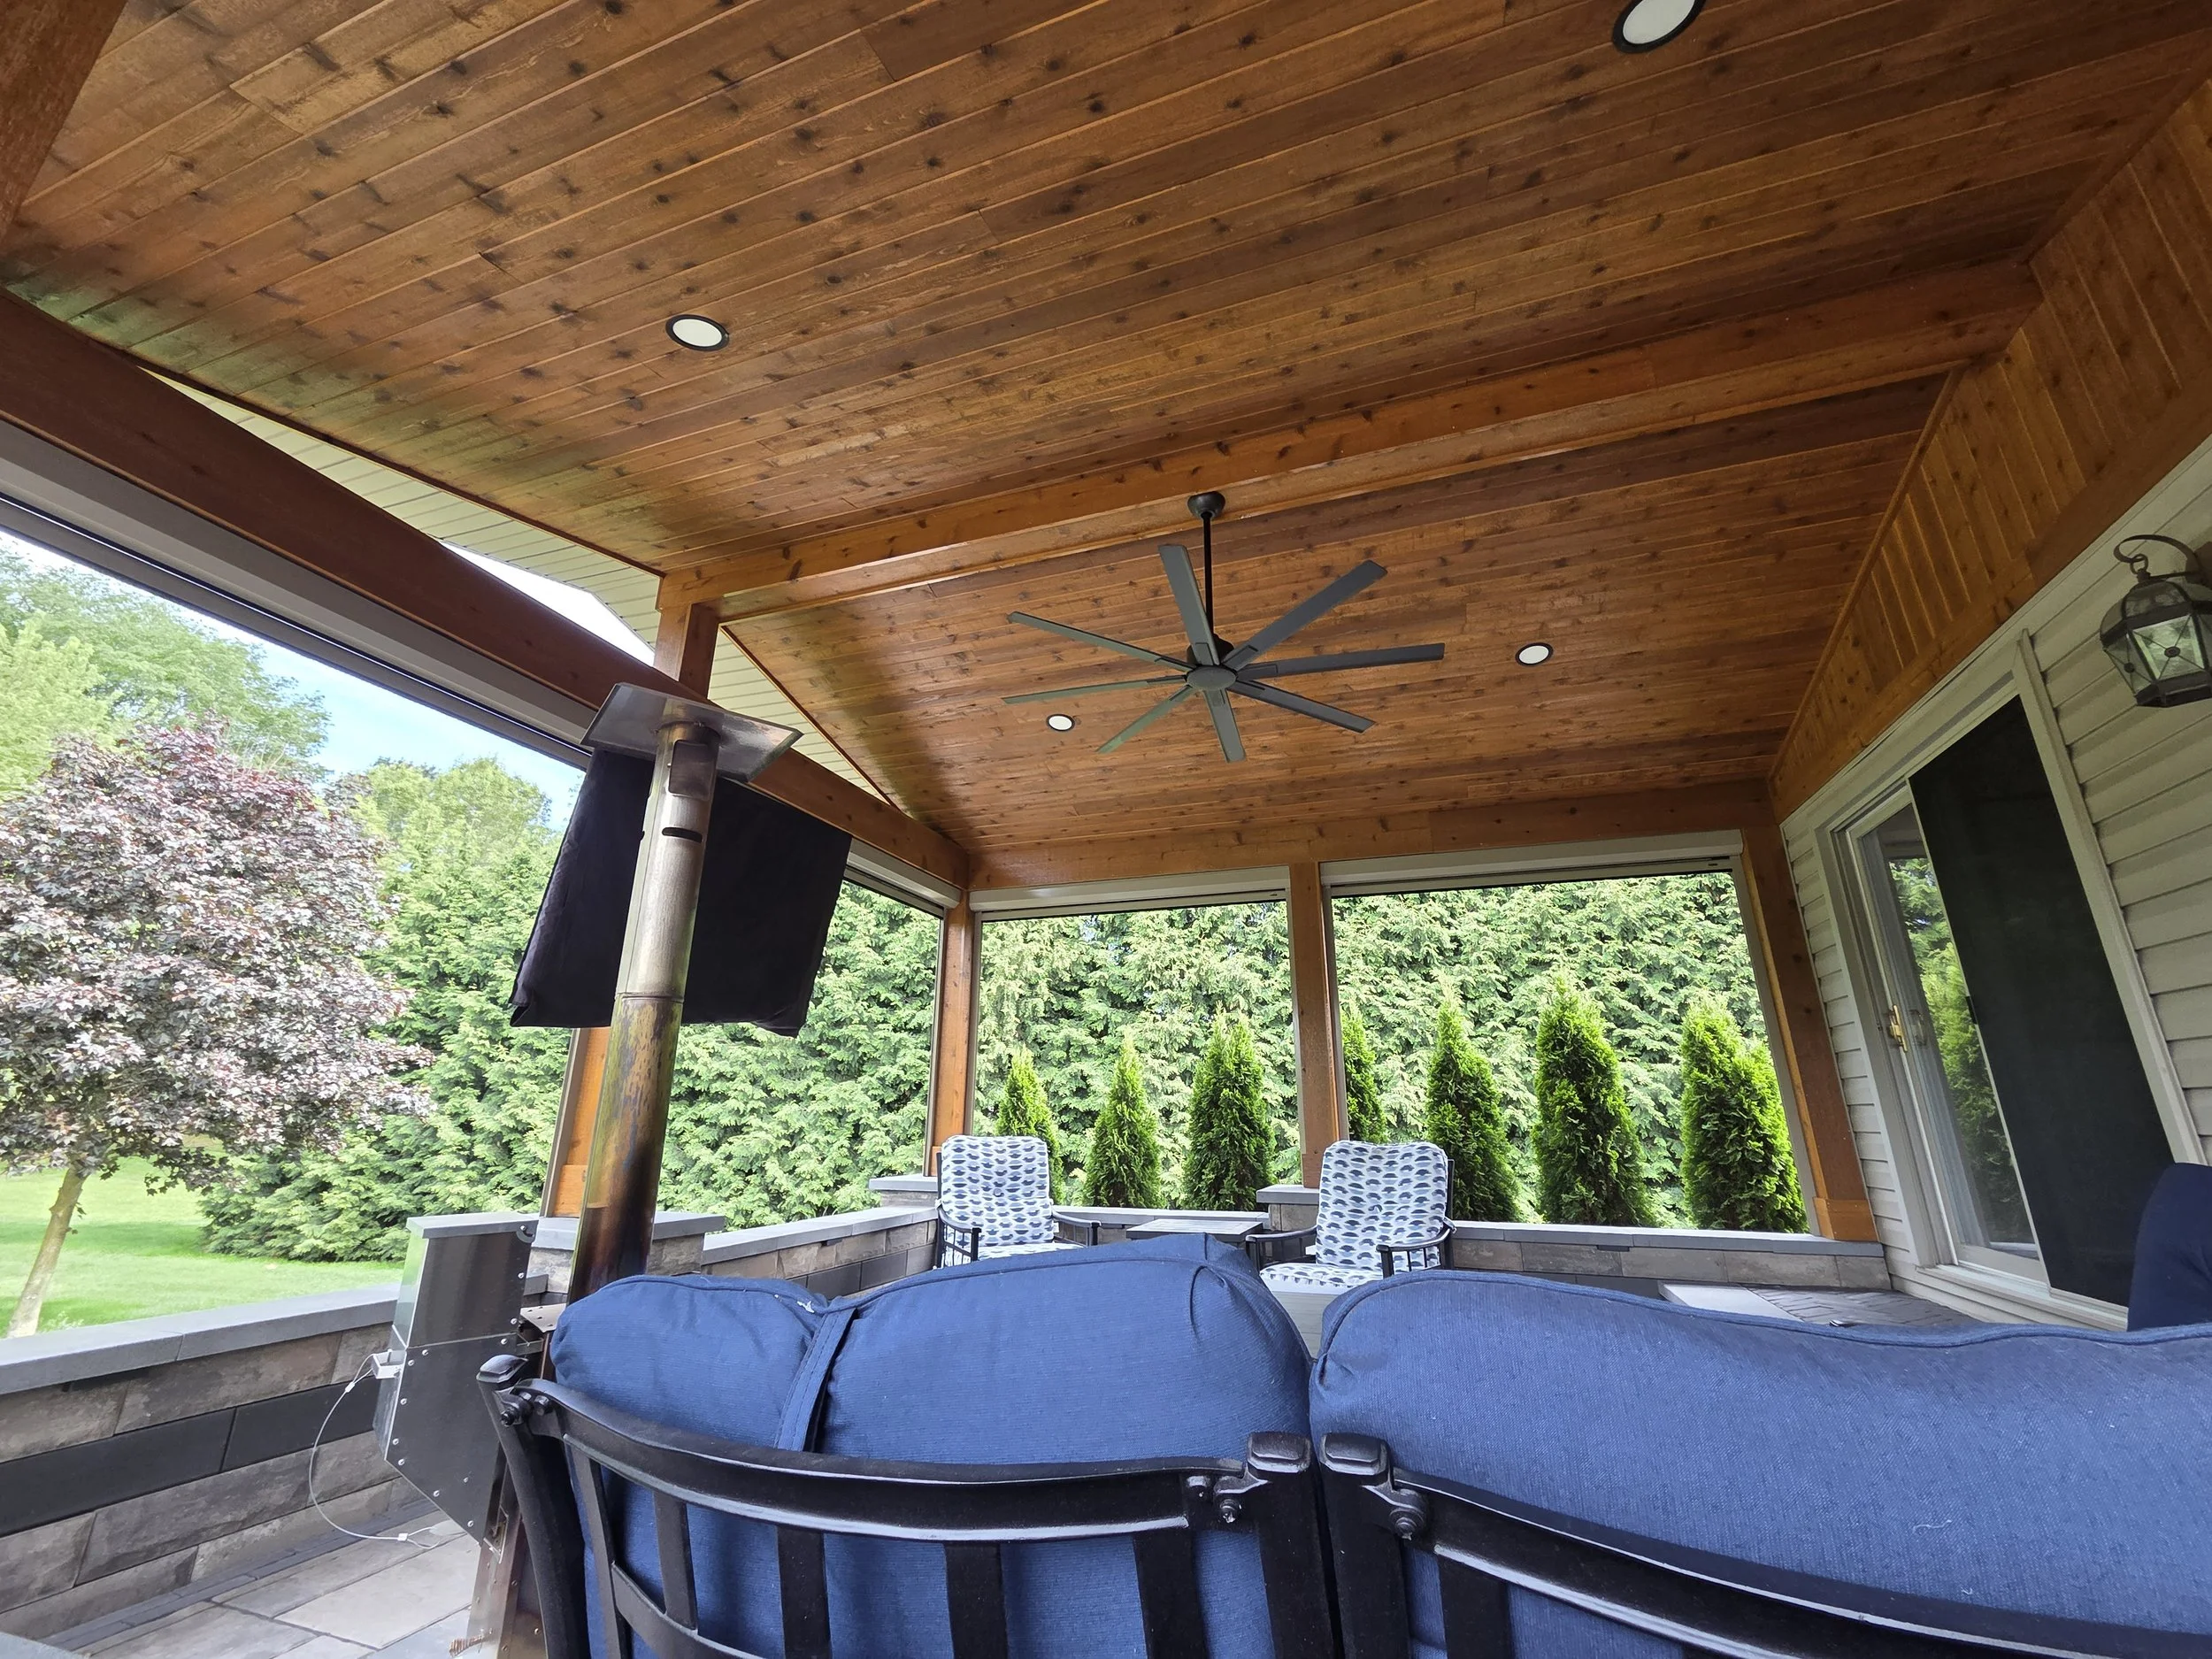
A freshly stained patio or deck creates the perfect place to relax, entertain guests, and enjoy summer days and nights outdoors.
Interior Wood Staining Services
Interior wood finishes can completely transform the look and feel of your home. We provide professional staining and finishing for:
Built-in shelving
Interior doors
Wood accent walls
Ceiling beams
Cabinets
Trim and molding
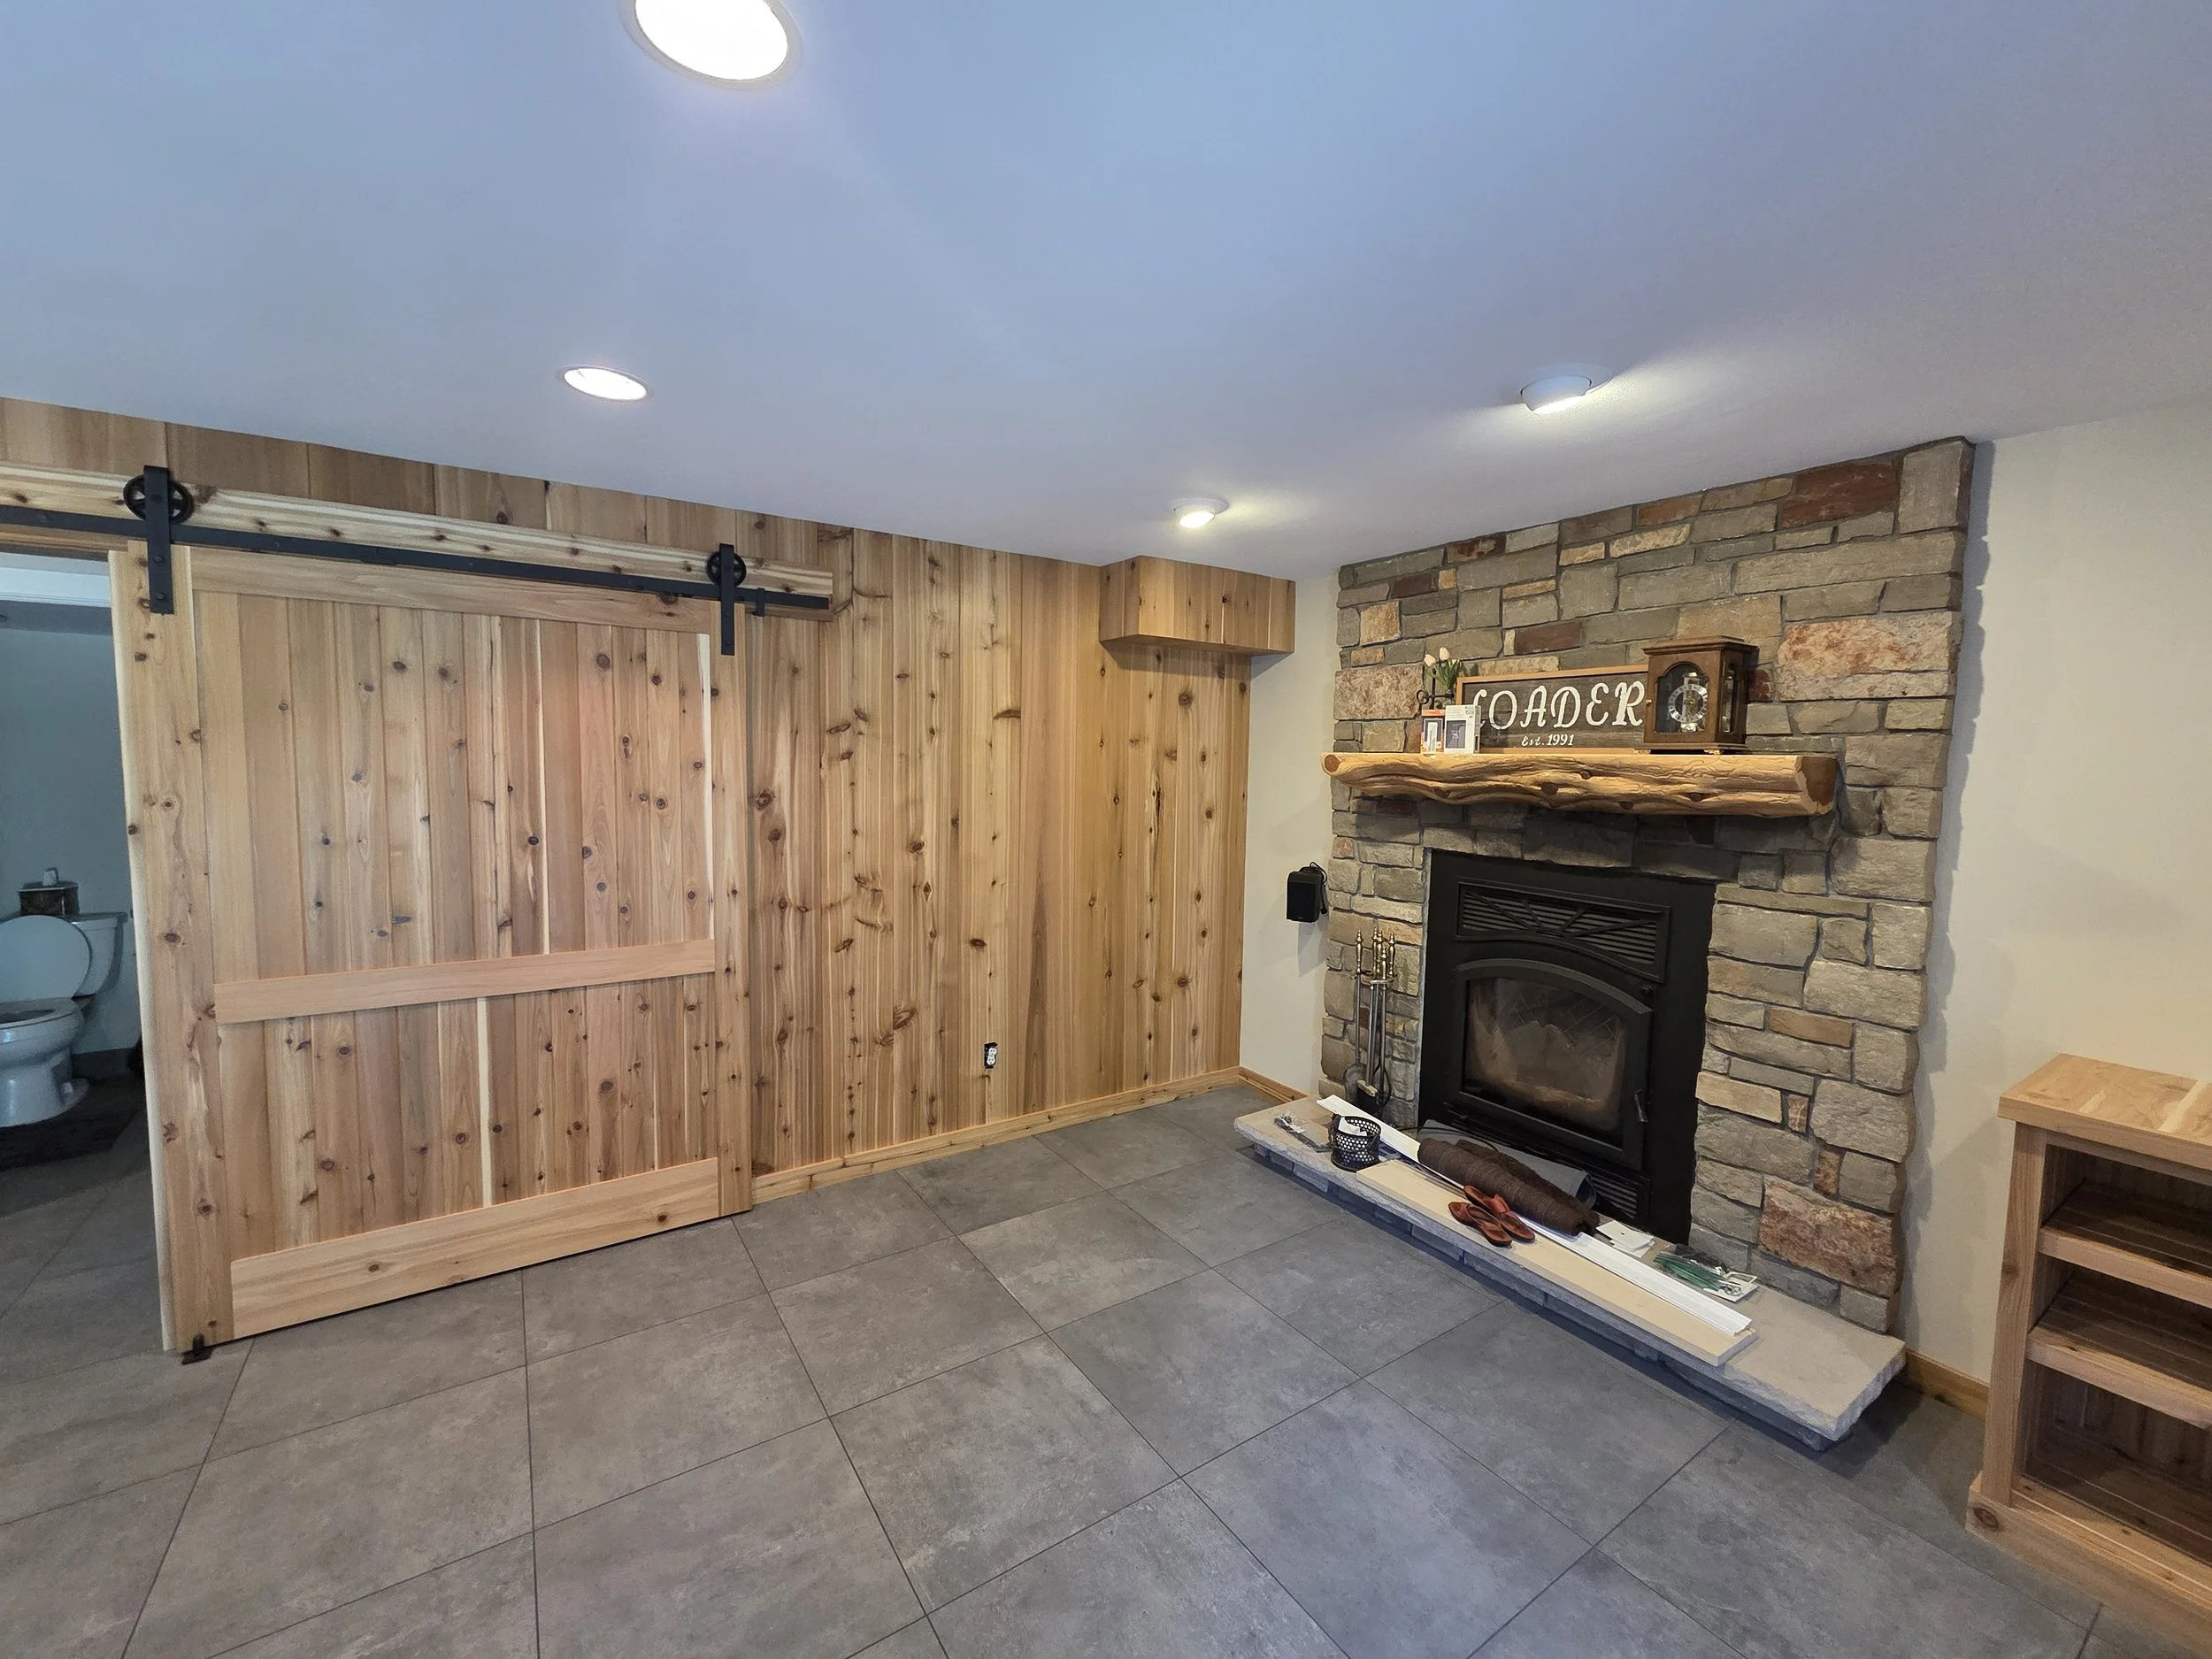
Our team takes pride in delivering smooth, even finishes that enhance the natural beauty of the wood while creating a cohesive flow throughout your home.
Why Hire a Professional Staining Company?
Staining wood properly requires preparation, experience, and attention to detail. Professional staining companies understand how to prep surfaces, choose the correct products, and apply finishes evenly for long-lasting results.
When you hire a professional staining contractor, you benefit from:
Expert surface preparation
Proper sanding techniques
Even stain application
High-quality protective finishes
Professional color matching
Long-lasting durability
Contact Us for Professional Wood Staining Services
If you’re looking for professional deck staining, patio staining, cabinet staining, or interior wood finishing services, Schafer Painting is here to help. We are committed to high-quality craftsmanship and beautiful finishes that bring out the best in your home.
Contact us today for a free estimate and let us help transform your wood surfaces with expert staining services.
